Summary: In this article we will go through how to export a 3D model from Altium, that you can use in Fusion 360
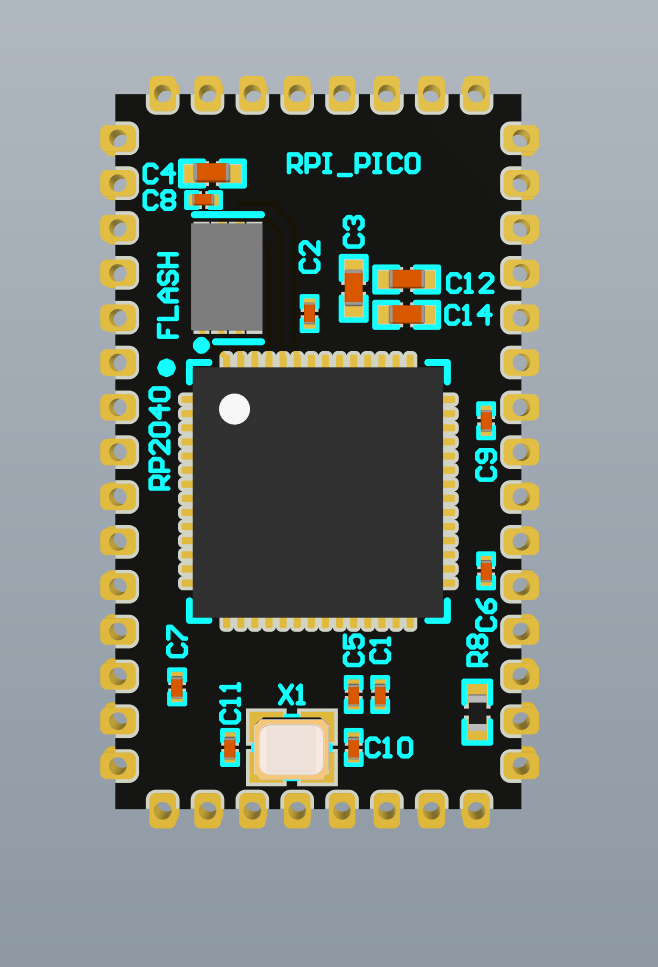
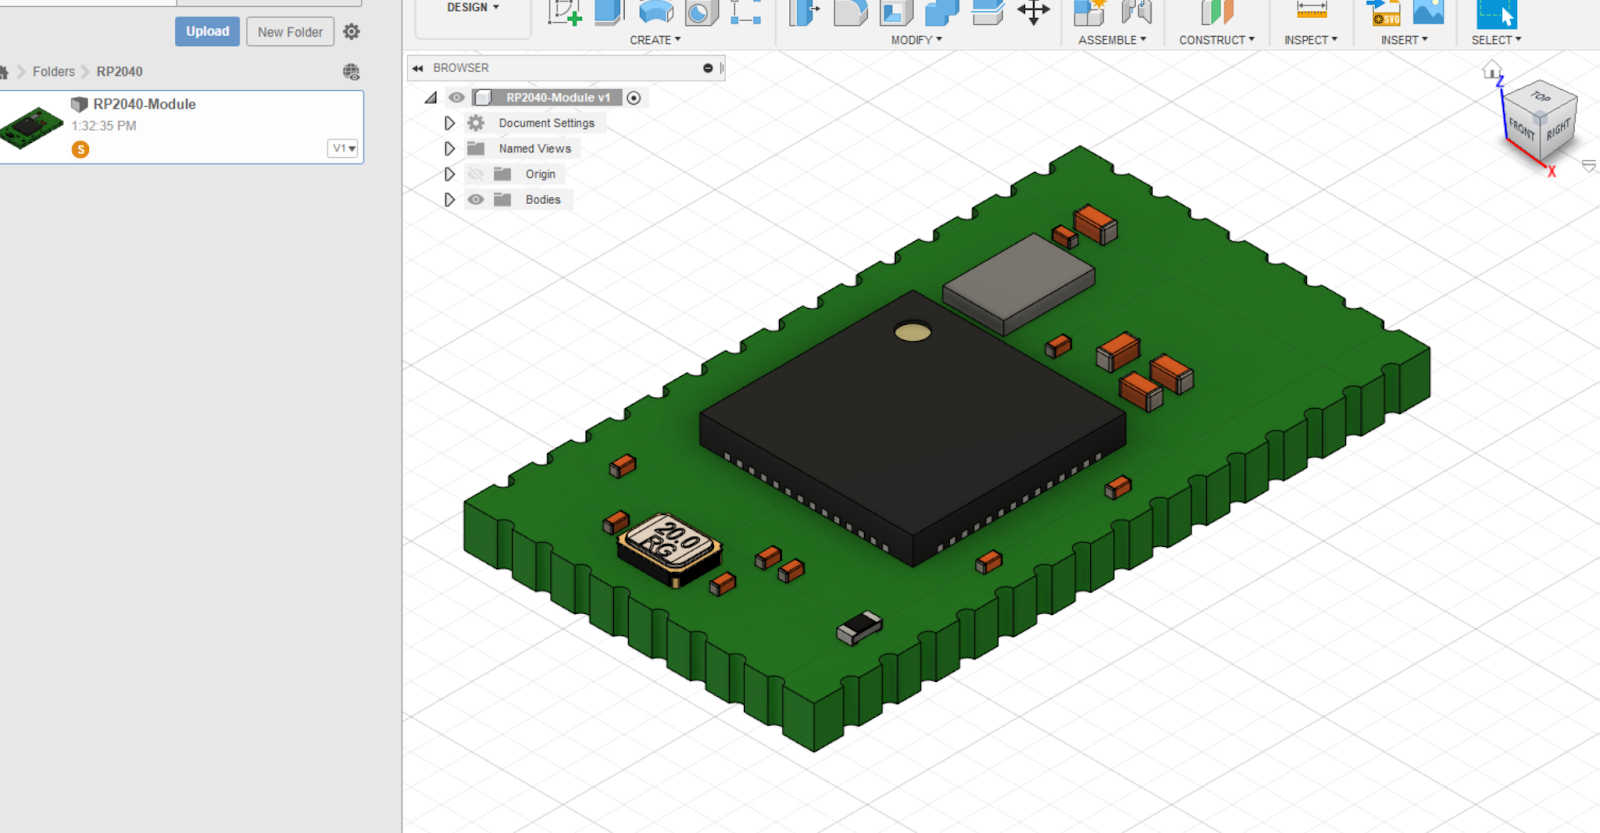
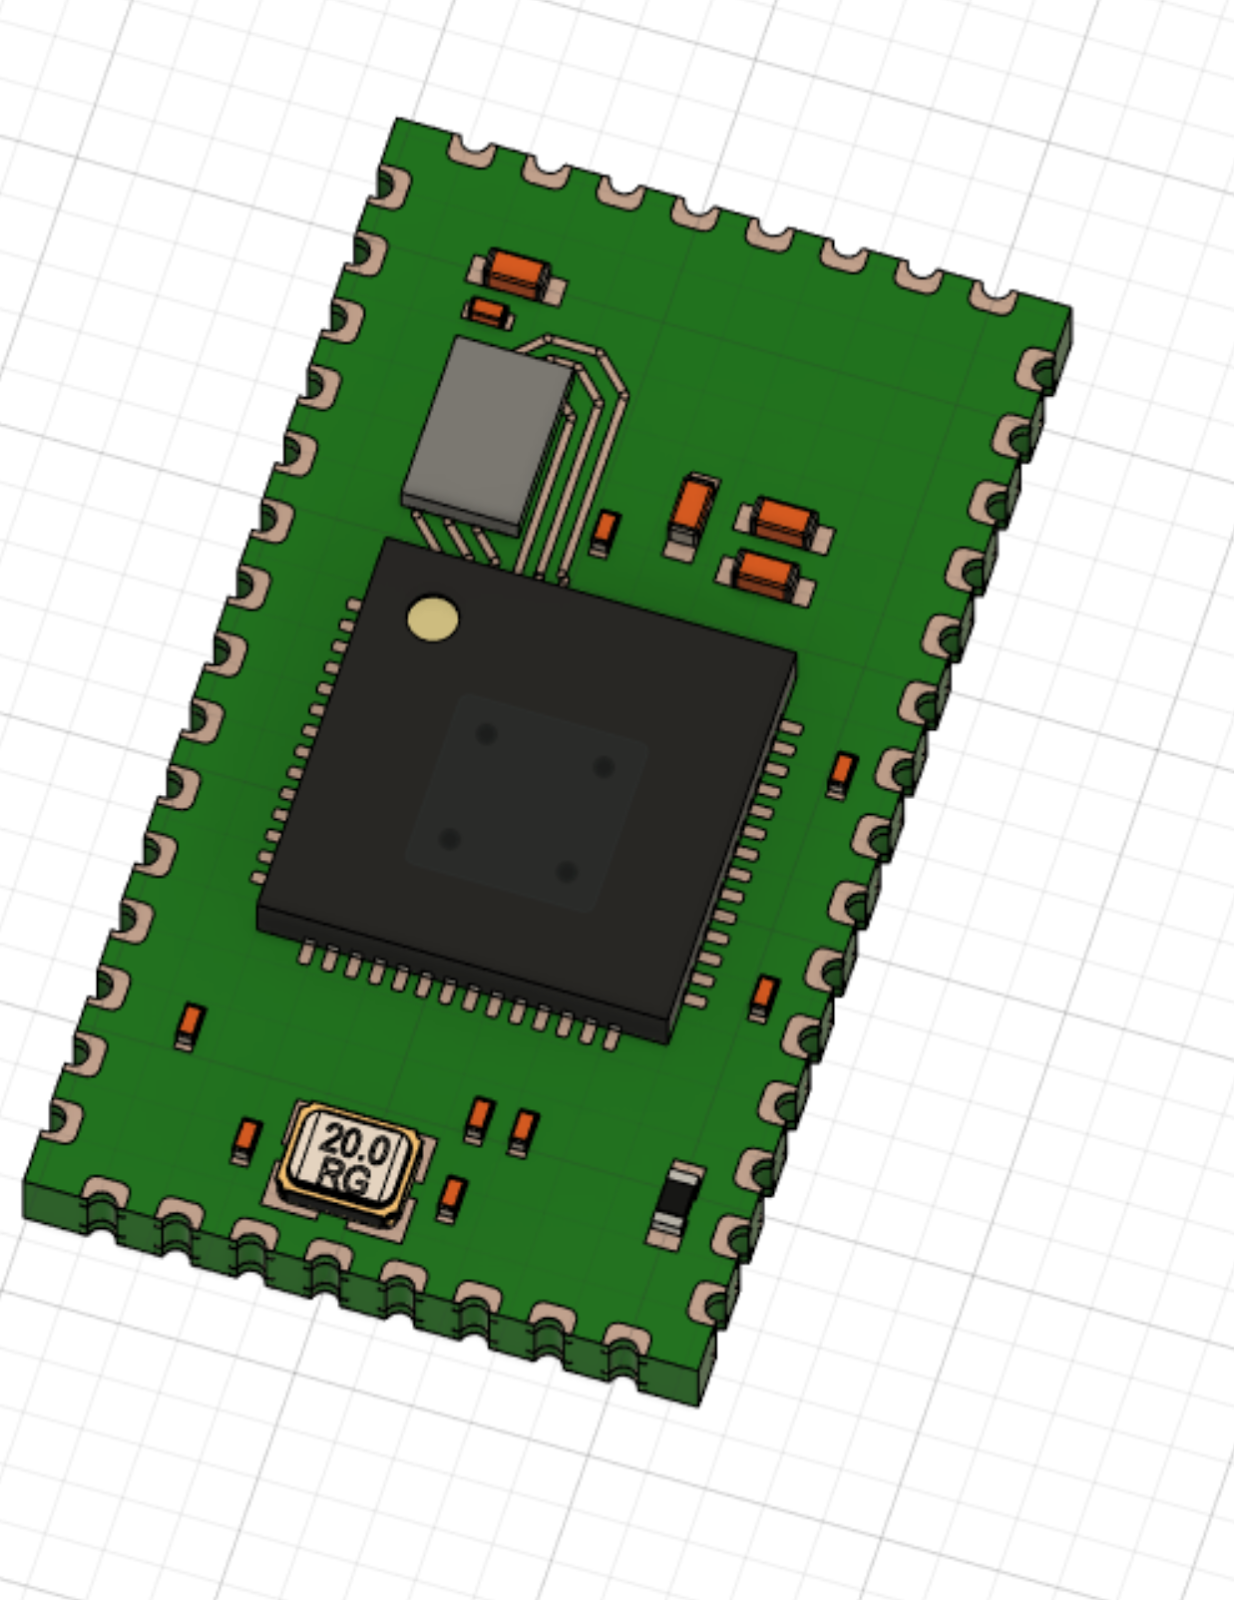
This is the PCB in Altium, that we are exporting. Its an RPI RP2040 Module made for hand soldering in DIY projects.
GitHub link at the bottom of the Article:
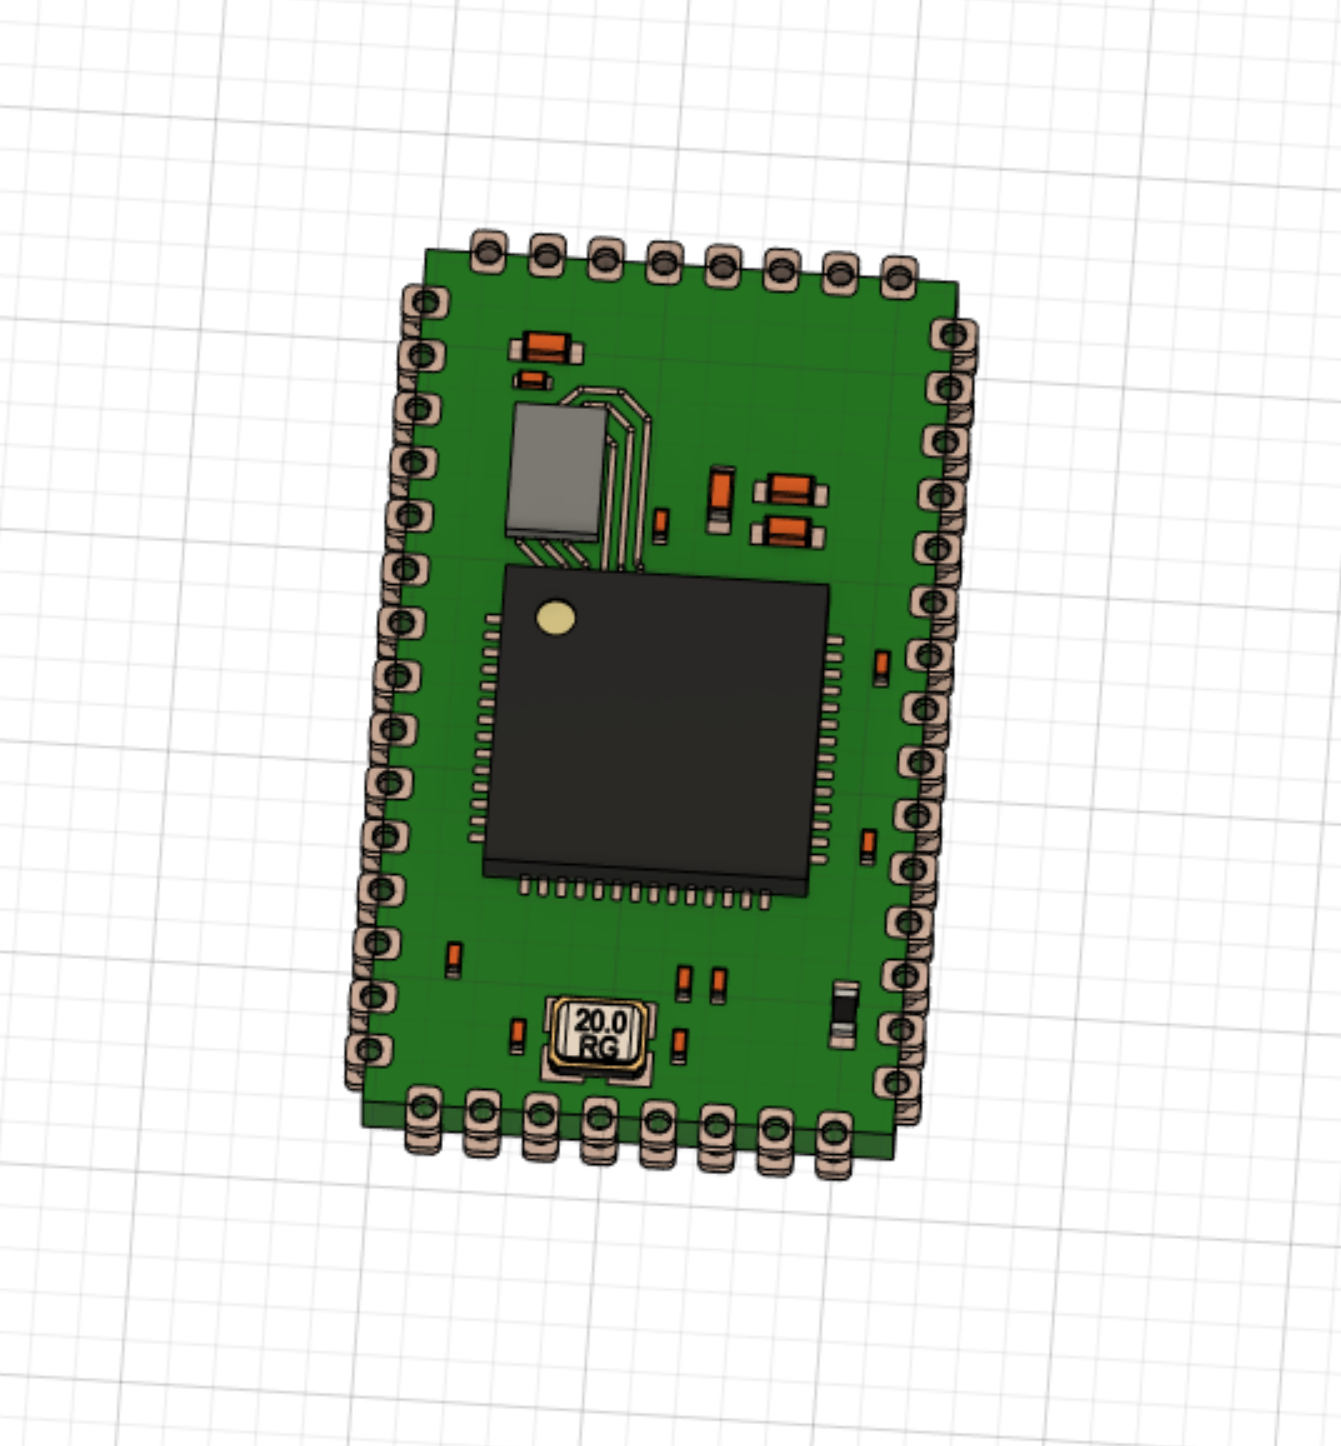
Top View
Bot View
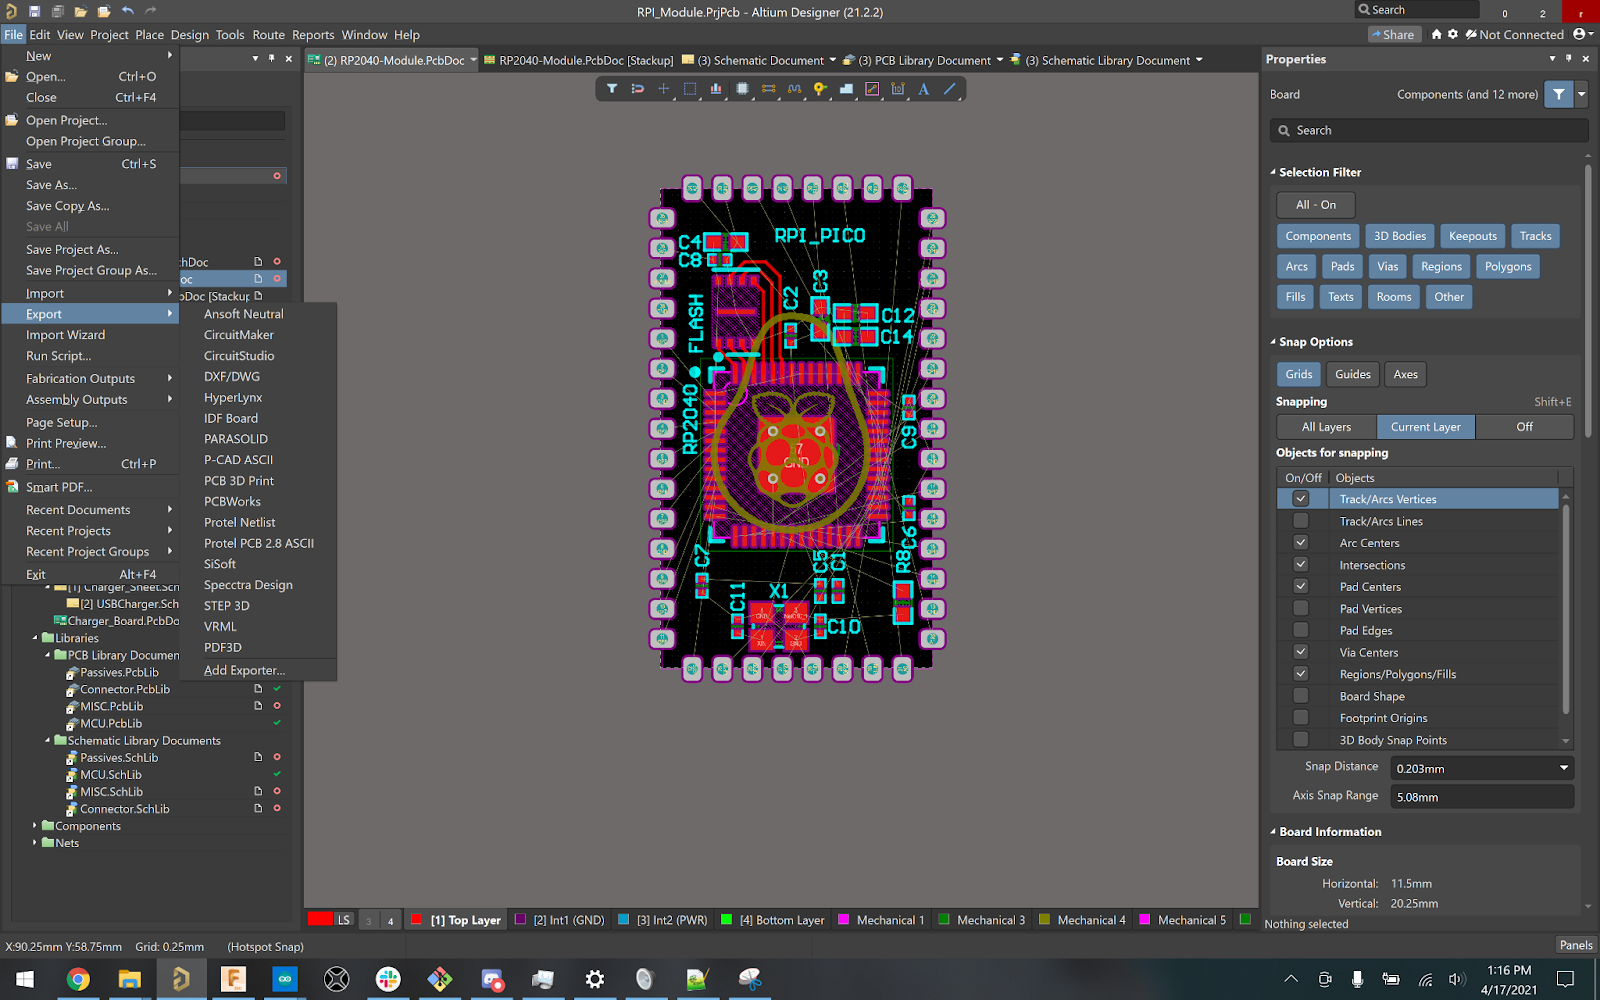
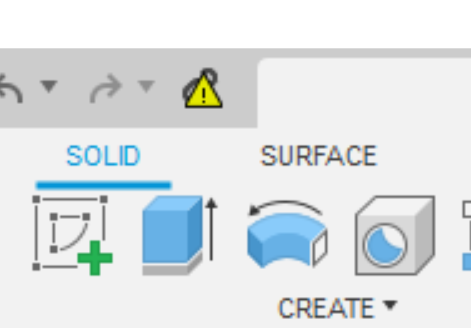
Go to File->Export->STEP 3D
Here you export the PCB as a STEP FILE
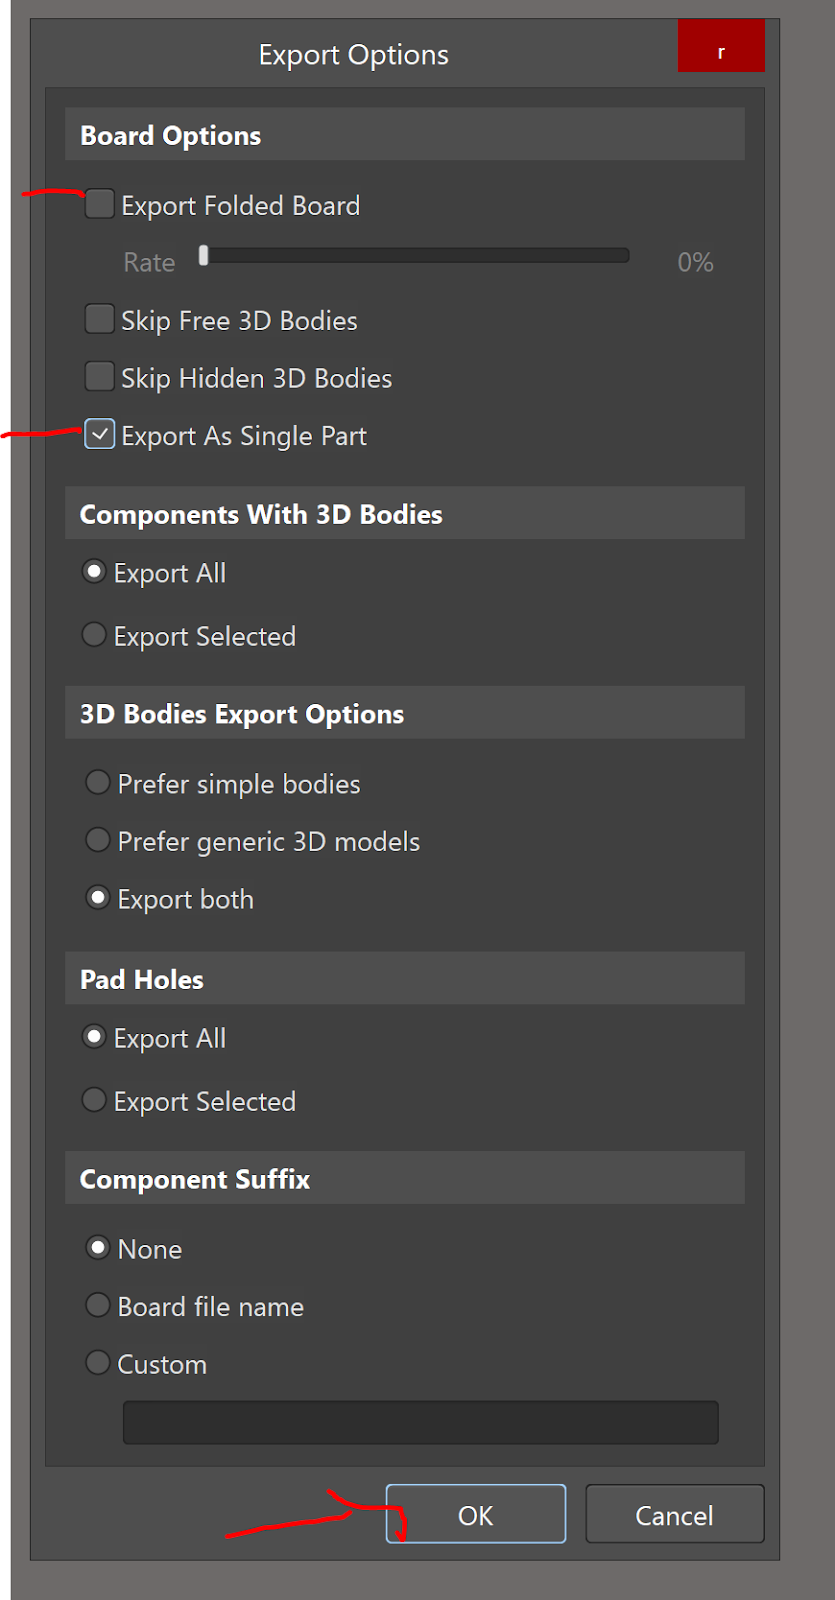
Save it, then this view pops up
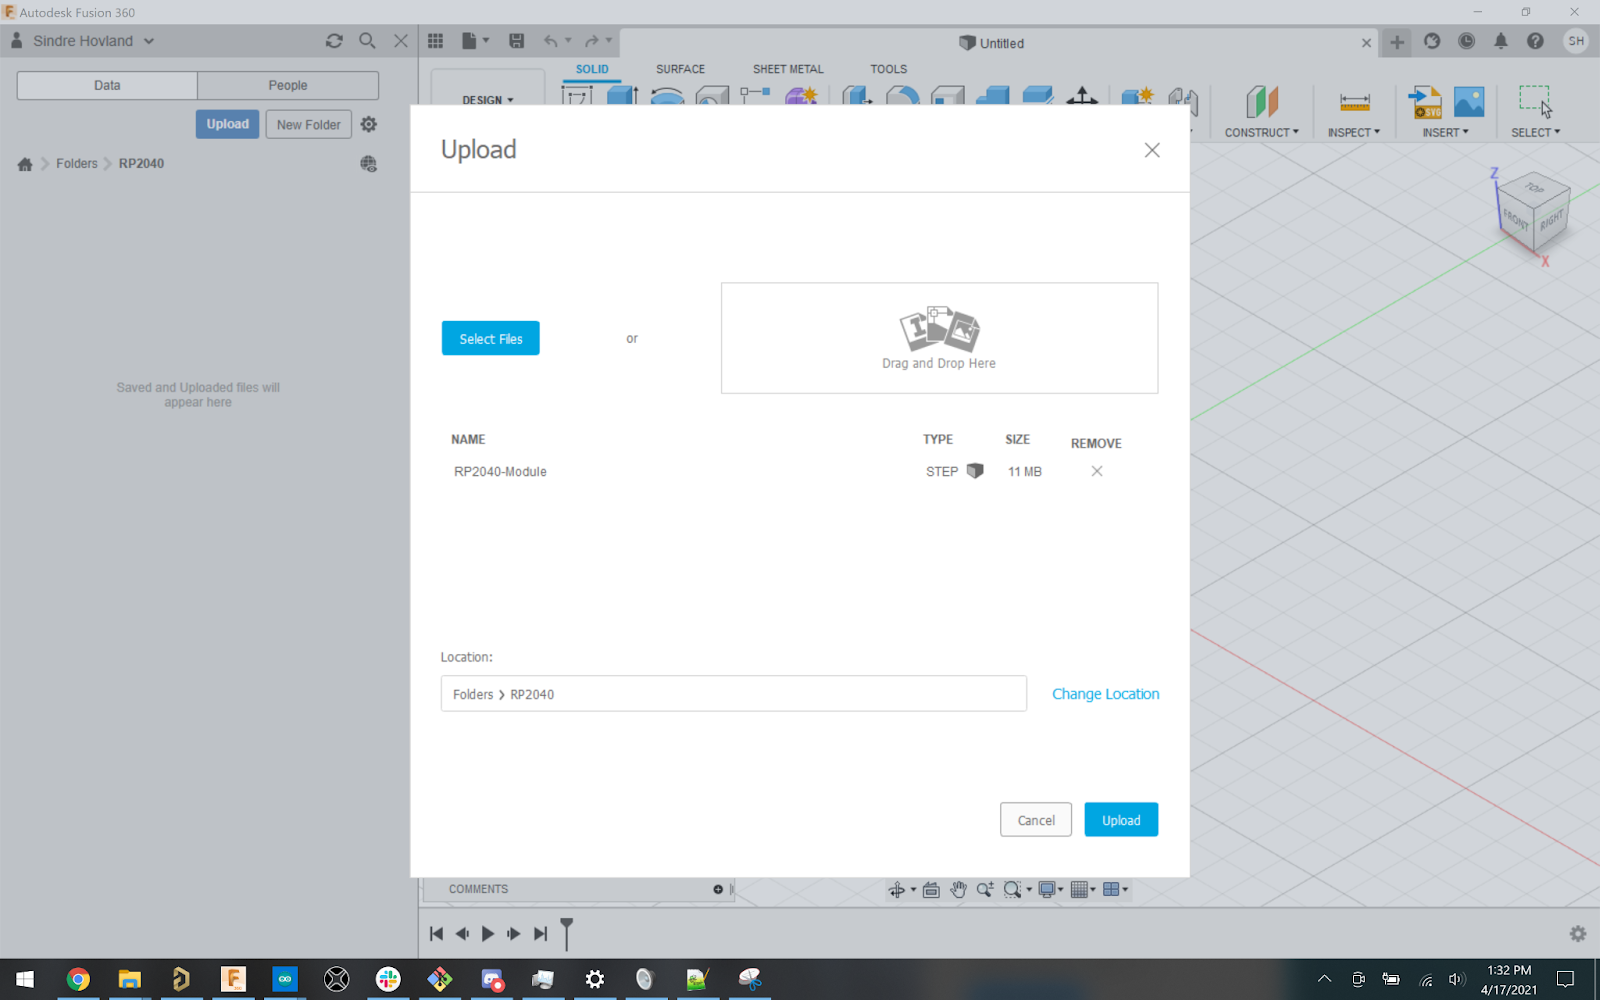
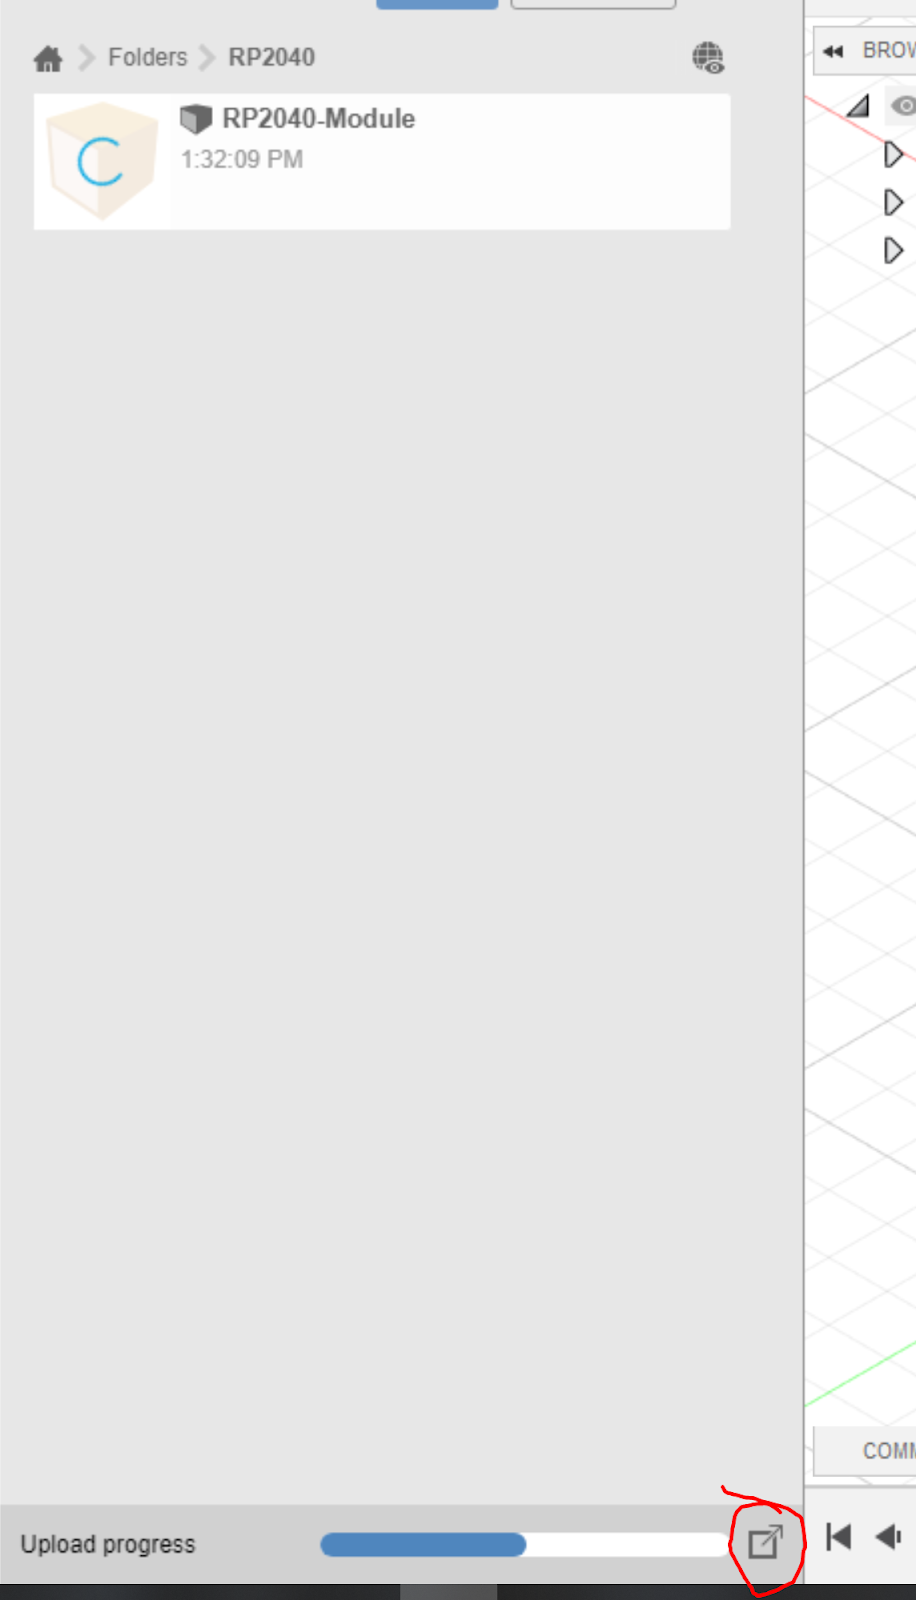
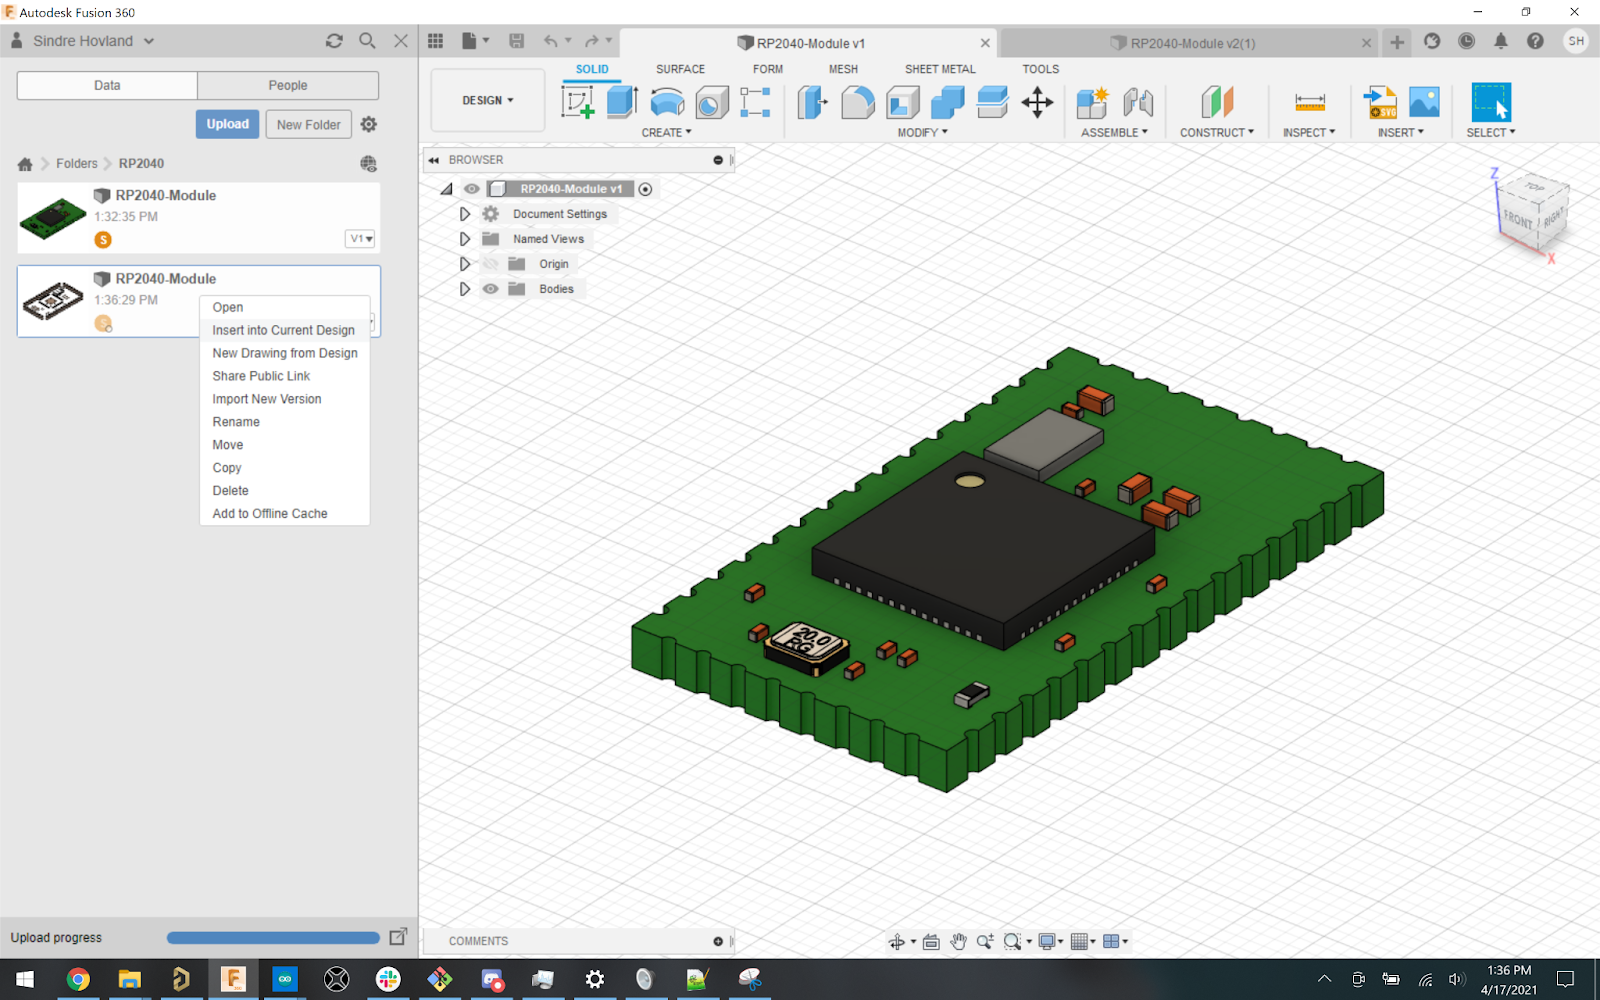
Over in Fusion click Upload in your project folder
Select your Step file and upload it.
The progress is shown in the bottom corner
After uploading refresh the page or open the model to get it in the view
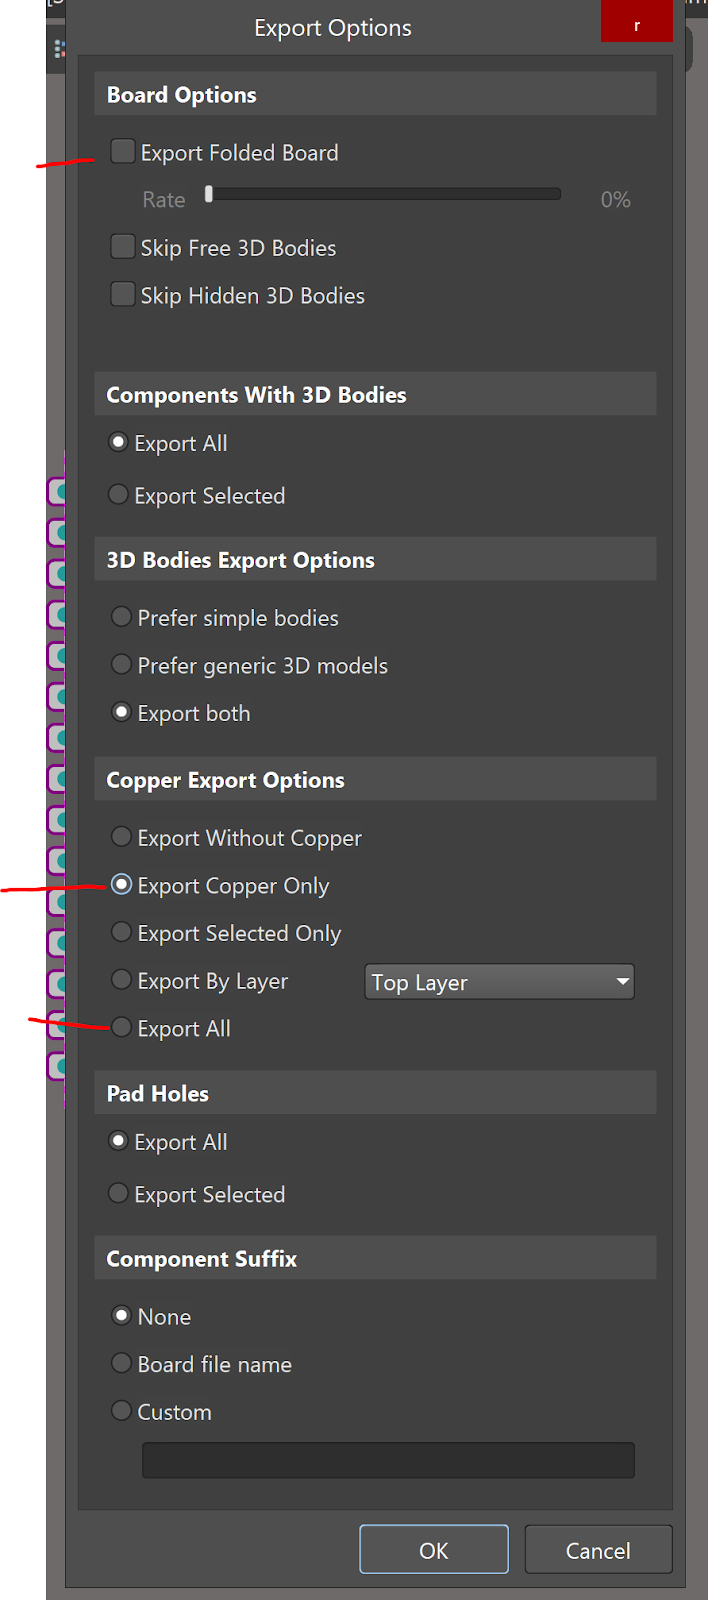
If you want the copper layers as well you can export it as a parasolid.
First shrink the pcb in Fusion by the copper layer height, usually 0.035mm*2
Exporting the Parasolid, this window comes up. Remove the folded board option, unless using flex pcb, and export with copper.
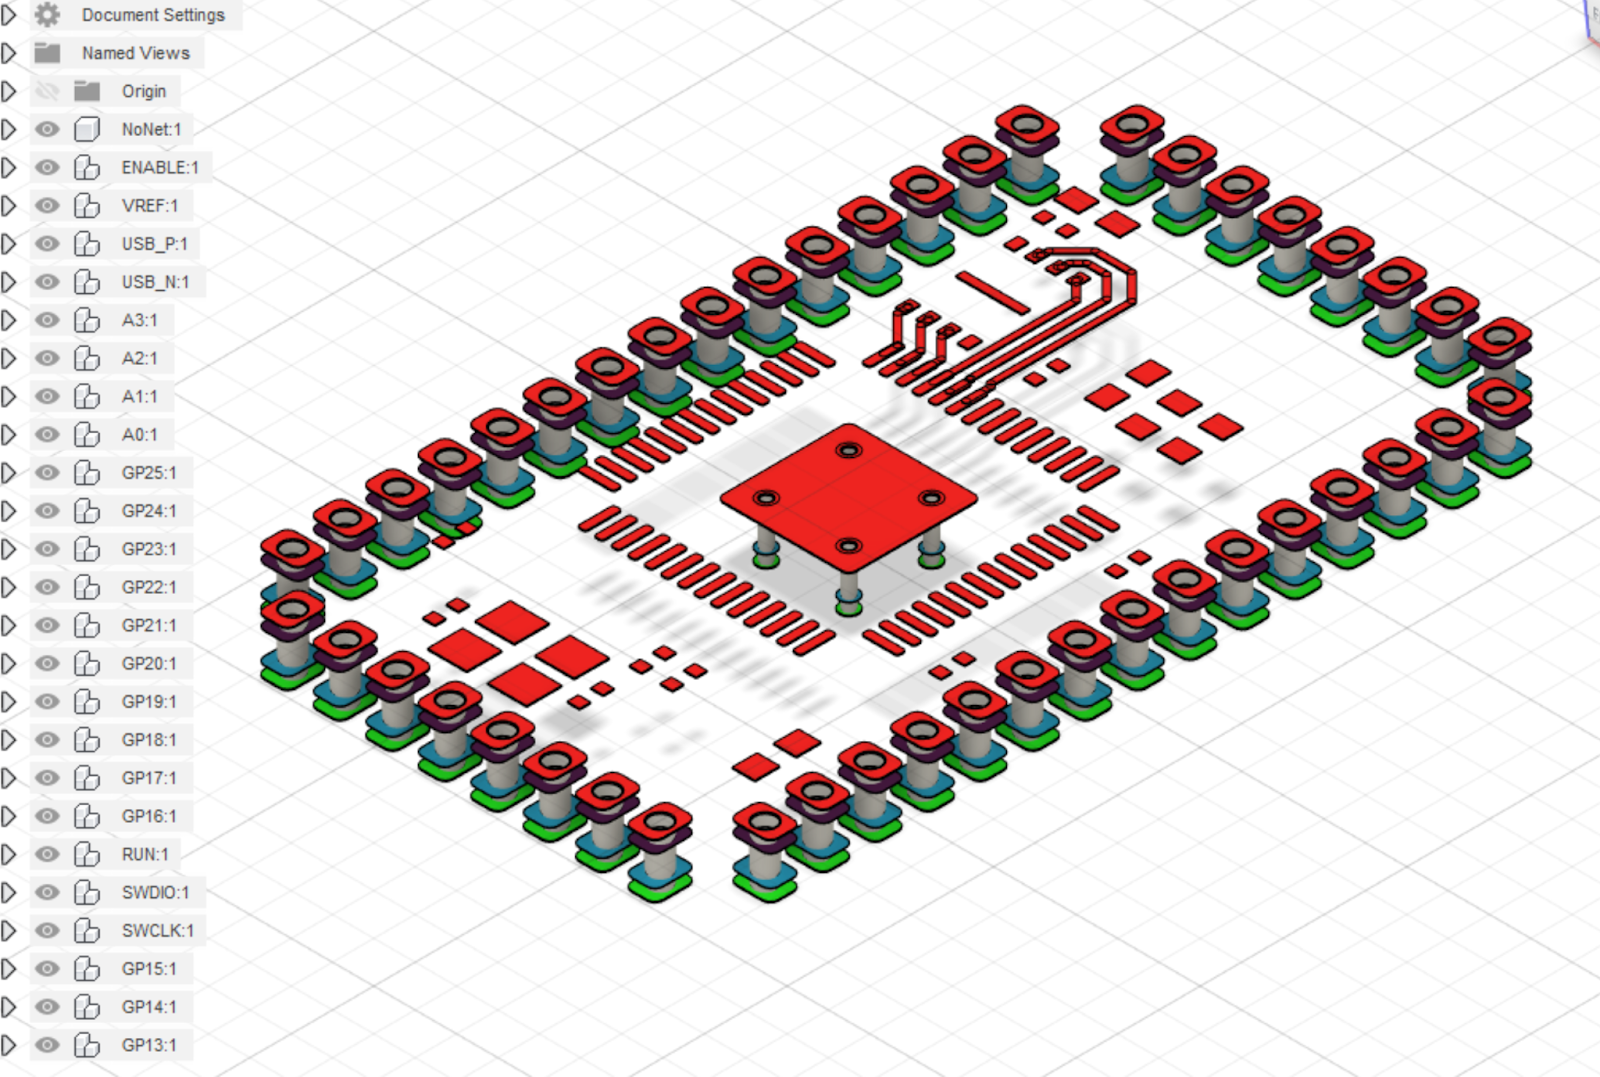
The Copper Layers exported with the original layer colours
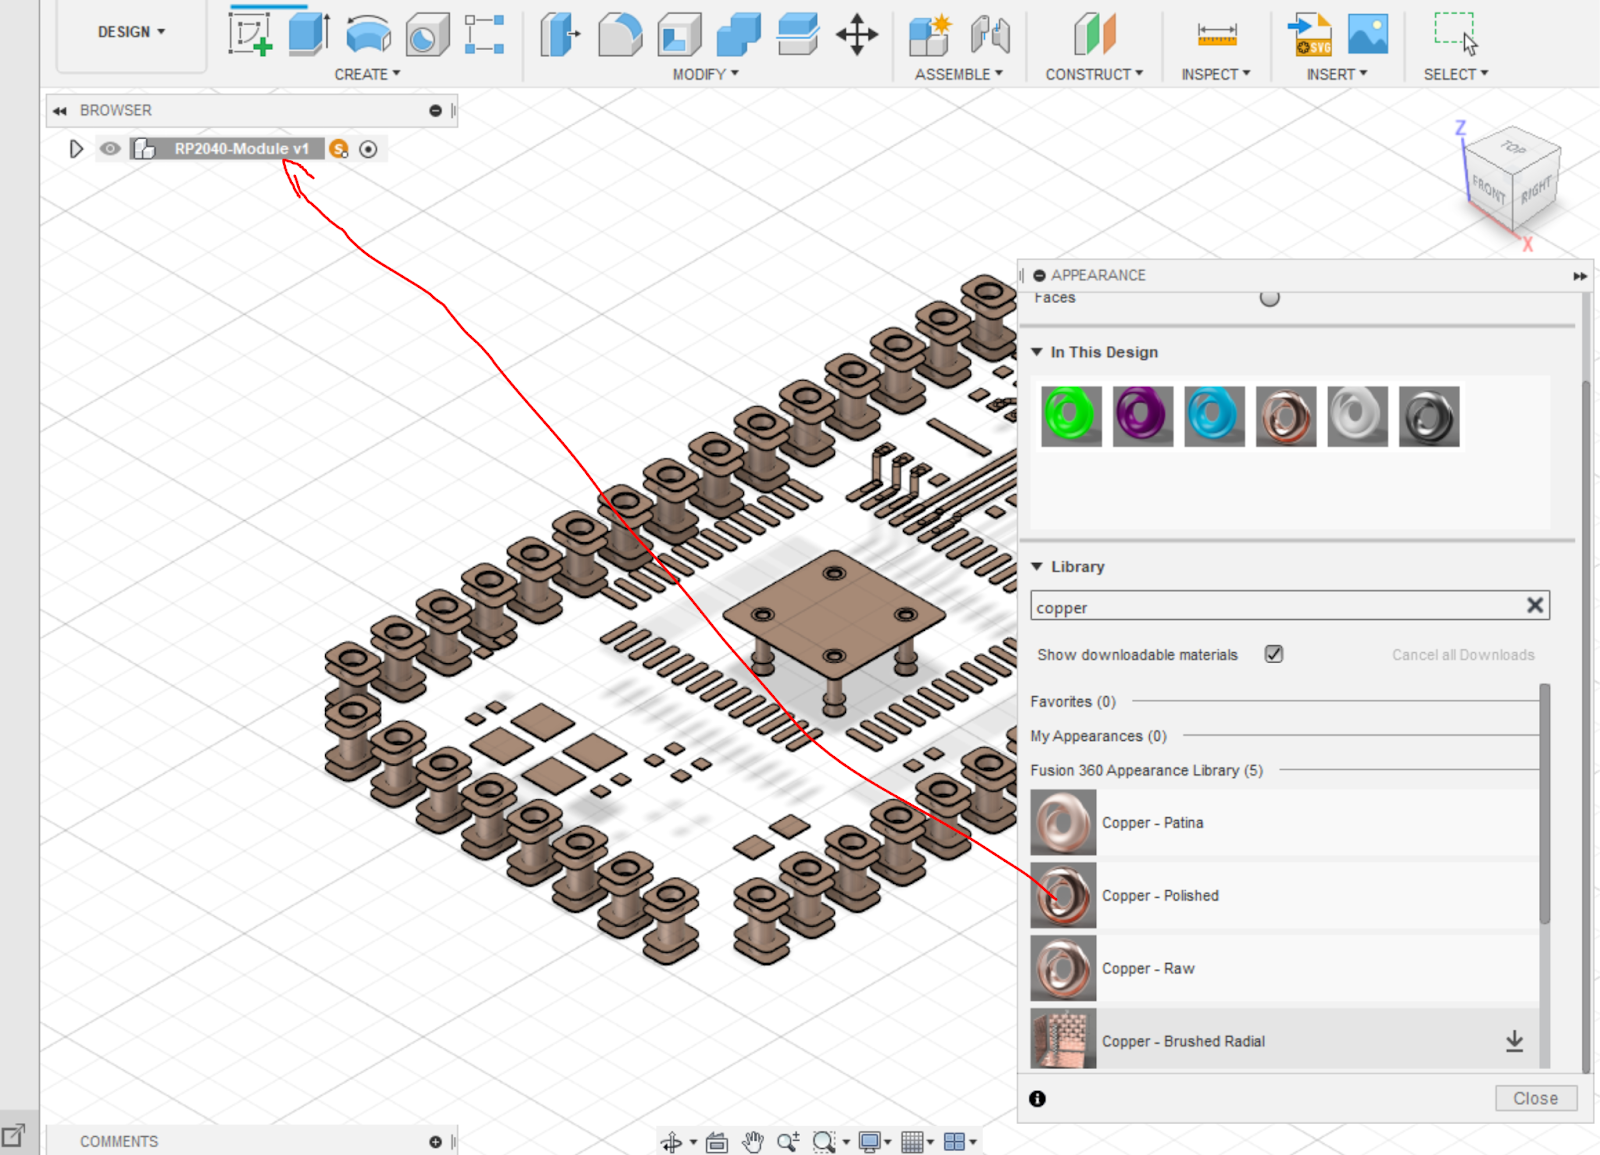
Change the appearance to polished copper, or gold ;)
Insert the copper layers into the first module we imported. You dont need this step if you exported the whole thing in Parasolid
Hit OK, and move the copper layer up with 0.035mm to make it stick out a bit
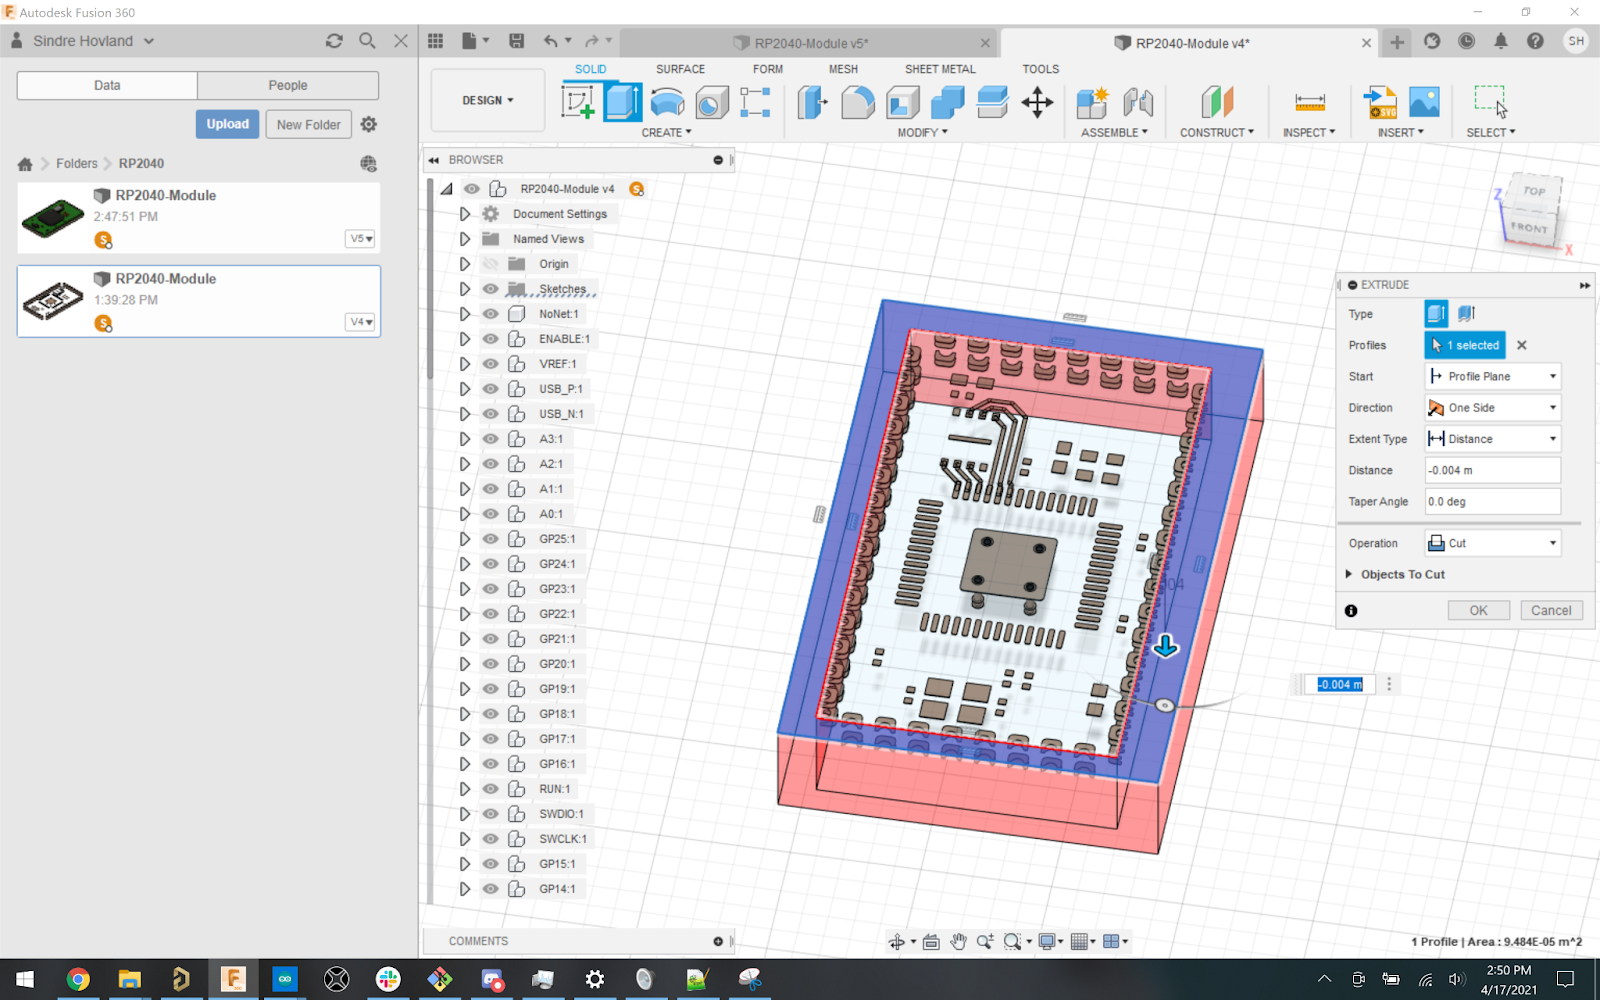
This is what you get. On castellated holes designs like this, the edges will be cut off
Cut away the corners of the shape of the pcb, and save it.
Click the symbol to update the component
End results
After Rendering:
Hope you make some sweet projects with this!
Github link for the RP2040 project:
https://github.com/kattemjau/RPI_PICO